Choose chicken coop bedding by how you will keep it dry, remove soiled material and replace it in your climate. Fix roof leaks, waterer spills and ventilation problems before expecting a different material to help. A suitable bedding routine should be practical during the wettest or coldest part of your year, not just on delivery day.
We may earn a commission when you buy through links on this page.
Find where the moisture comes from
Walk through the coop before comparing bags of bedding. Check the roof, door edges, floor and the area around the waterer. Mark whether a wet patch returns after rain, after refilling or beneath a particular roost. Those patterns help you identify a maintenance or building problem instead of repeatedly covering the same patch.
University of Minnesota Extension emphasizes manure management and ventilation to control winter moisture. Bedding is part of that routine. It cannot repair a leak or replace air exchange, and adding a dry surface layer does not establish that the material beneath is dry.
Trace the moisture before changing bedding
For a practical example, imagine two wet areas: one at the door after every storm and another around a drinker each morning. Replacing all the bedding with a more expensive product leaves both incoming water sources in place. Investigate the door’s weather protection and the waterer’s setup first. Then remove affected material and reassess how the replacement bedding performs.
In a rainy climate, prioritize removal and dry storage
Think through how wet bedding leaves the building. Can you reach the back corner with the door fully open? Is there a container for removed material and a suitable place to take it? If the coop is small, a material that is convenient to spot-remove may fit your routine better than one that requires a large cleanout you struggle to schedule.
Keep the unused supply dry as well. A bag stored under a leaking lean-to does not become a reliable reserve because its label says absorbent. Check how much you can store, how often you can obtain more and whether the package can be moved without opening it in the rain. Those ordinary handling details determine whether you can maintain the bedding you buy.
Separate the sleeping-house floor from a muddy outdoor run. Spreading an indoor bedding product over a drainage problem outside is a different project with different loading, rainfall and disposal conditions. Ask your local extension office about persistent site drainage issues. Our bedding comparison concerns specific materials and packages; it does not certify a method for reclaiming a waterlogged run.
In winter, leave room for ventilation and inspections
A thicker layer can change the clearance below doors, roosts and removable trays. Check the planned depth against the actual structure before adding material. Do not block vents to keep bedding warmer or assume a deeper layer means you can stop looking underneath the surface. A winter routine still needs access to wet or heavily soiled areas.
The University of Maine housing guide, linked below, calls for replacing wet bedding with dry shavings. That supports a targeted inspection routine, not an automatic calendar rule for every coop. Inspect conditions in your building and remove affected bedding rather than waiting for a date on a chart.
Our winterizing guide covers the building and equipment checks around this decision. Choose a bedding depth and removal method you can manage with the coop’s actual openings. If the only way to remove material is to dismantle a frozen external panel, address that access problem before winter.
In hot or dry weather, compare dust and workload
Read the product description for the material, intended use and handling instructions. “Natural” does not describe particle size, dust level or how a particular bag was processed. Look at the bedding as you pour and move it, and do not repeat a manufacturer’s respiratory or health claim as a reason to buy unless you have appropriate evidence for that claim.
Heat does not remove the need to inspect around drinkers. Check for damp material beneath apparently dry bedding and for contamination that requires removal. A material that is convenient in your winter setup may require a different removal frequency when your flock’s routine and water use change. Assess the condition, not just the season’s name.
If you are considering sand, use our sand-selection guide before treating any bag labeled sand as interchangeable. Particle characteristics, moisture, floor construction and handling matter. A photo of a tidy sand floor does not show the cleaning time, the floor underneath or the conditions after a spill.
Choose among pine shavings, chopped straw and sand
Poultry Extension's litter guide, written by University of Kentucky poultry specialist Jacquie Jacob, identifies pine shavings as a preferred reference material and discusses alternatives. It notes that chopped straw can cake and that long straw mats more quickly. Those distinctions help narrow a purchase without claiming that one material solves every climate problem.
For a small coop with recurring wet patches and limited cleanout access, begin by checking a supply of poultry-appropriate pine shavings that you can store dry and replace locally. Compare its stated volume with the floor calculation below. If you are considering chopped straw because it is readily available, check the chop and plan how you will inspect and remove matted sections, especially during wet weather. A whole bale of long straw is not equivalent to a bag of short chopped material.
Sand is a different handling decision. Before choosing it for a dry-weather scooping routine, verify the floor, the material specification and how you will remove a wet or contaminated section. Do not transfer commercial broiler-study results in the litter guide into a promise for your backyard hens. If wet sand would be difficult for you to move or the floor is unsuitable, its appearance in a clean-coop photograph is not a reason to buy it. The linked sand guide covers that separate material check.
These are starting choices tied to maintenance constraints, not a controlled ranking. Pine shavings still need moisture control, chopped straw still needs inspection, and sand still needs a workable removal route. If none can be maintained dry in the current building, correct the building or equipment problem before changing materials again.
Compare a bag by the job it must do
Write down what you need from the purchase: floor coverage at the chosen depth, a supply for spot replacement, storage space and a disposal route. Package weight is not coverage. Two materials can have very different weights for a similar occupied volume, so comparing pounds alone can lead to the wrong quantity.
For a rectangular floor, area multiplied by depth gives the geometric volume. As an example, a 12-square-foot floor with a 3-inch layer occupies about 3 cubic feet: 12 × 0.25 feet. This is a measurement illustration, not a recommended depth. Compaction, packaging and replacement needs mean you must still check the supplier’s coverage information and the instructions for your setup.
Keep nest material separate on the worksheet. A nest lining and the whole coop floor have different access, replacement and quantity requirements. Do not fill a roll-away nest with a floor-bedding depth unless that nest’s manufacturer allows it; material can interfere with its intended egg path. Check the nest instructions rather than extending a floor recommendation into the nesting system.
Use a short observation log before changing again
After resolving obvious water sources, record the date, material, approximate depth and where you removed soiled bedding. Note what happened after rain and after cleaning or refilling the waterer. The purpose is to judge whether the routine is workable in your coop. It is not a controlled material test and cannot establish health benefits or a universal ranking.
The University of Maine housing guide specifically calls for removing wet bedding around waterers and replacing it with dry shavings. If that patch returns repeatedly, inspect the waterer’s position, outlet and refill procedure. Our chicken waterer guide helps distinguish reservoir design from the access and spill questions at the drinking point.
Use the log to make one meaningful adjustment at a time when practical: repair a leak, change a difficult removal routine or choose a material that fits your storage and handling limits. Repeatedly changing several things together makes it harder to see which problem remains. Persistent moisture or flock-health concerns deserve help from an extension educator or veterinarian as appropriate.
Common questions
Is one bedding material best for every climate?
The sources here do not establish a universal winner. Evaluate dry storage, moisture sources, ventilation and the removal routine in your actual coop.
Can I cover a wet patch with fresh bedding?
Inspect and remove the wet material, then address its moisture source. A dry-looking top layer does not show that the bedding below is dry.
How much bedding should I buy?
Measure the floor and choose a depth appropriate to your setup, then compare that volume with the supplier's coverage information. Allow separately for spot replacement; package weight alone is not floor coverage.
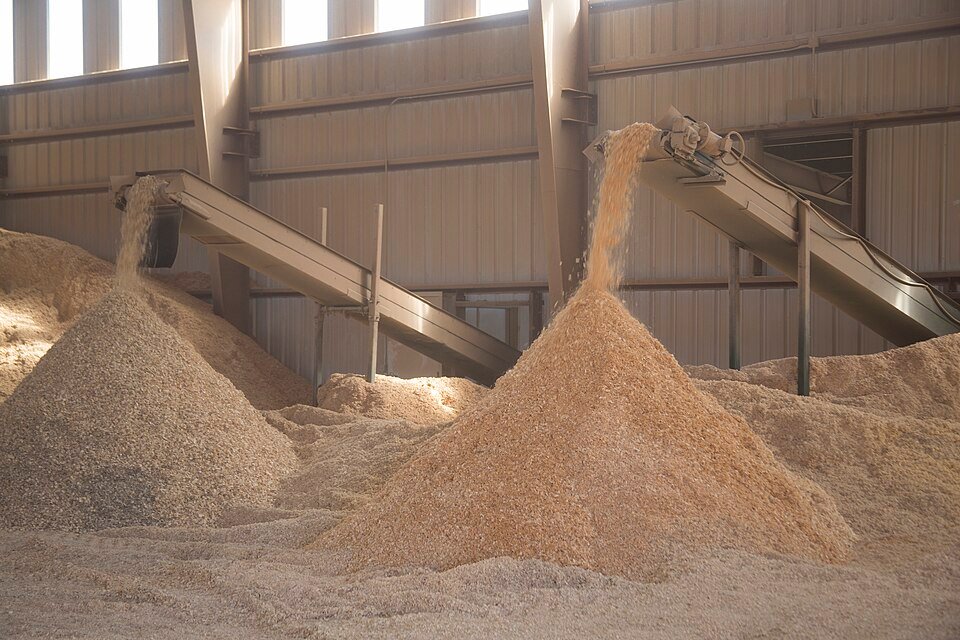
Cover photograph by Intermountain Region US Forest Service, Public domain, via Wikimedia Commons. Original planning diagram by Backyard Henhouse.
