Install an automatic chicken coop door by matching the exact model’s mounting drawing to a sound, flat opening, keeping the full moving path clear, and completing the manufacturer’s setup and safety checks before relying on automatic operation. Then observe an actual evening closing and morning opening with a flock head count. A successful button press alone does not establish that the flock is secured at night.
We may earn a commission when you buy through links on this page.
The job has two parts: fitting the hardware and commissioning the controls. Keep the existing enclosure secure while work is in progress. If the opening needs structural alteration or a new electrical supply, arrange that work appropriately before treating the door as ready to install.
Identify the delivered model and control generation
Read the label and the instructions supplied with the door. Save the model, generation, power requirements, mounting orientation, and permitted wall arrangement. Similar-looking doors can use different controllers or scheduling methods. Do not substitute the first video with a matching brand name for the instructions in your box.
For example, RUN-CHICKEN’s current T50 Bluetooth demonstration includes app configuration and location-based sunrise and sunset settings. That is a different setup question from positioning a light sensor on a door that closes in response to measured light. Find the matching document through the manufacturer's instructions hub.
Before unboxing every small part, photograph the label and compare the parts list. Check that the frame, controller, power components, and fasteners correspond to the instructions. If parts are missing or the panel is damaged, resolve that before cutting a permanent opening.
Installation has three separate checks
Confirm the opening, frame, and travel space separately
Measure the clear passage, the full mounted assembly, and the space used while the door moves. Include battery or controller access and the clearance needed to service the unit later. The door-sizing worksheet walks through those measurements before you commit to a location.
Hold the complete template or drawing against the actual mounting face. Mark where each required fastener will meet solid material. A mounting surface that looks wide enough from outside may have trim, a brace, or a nest-box extension in the panel’s path on the other side.
Check the door at its fully open and fully closed positions before fixing it permanently. Keep the floor treatment, threshold, ramp, and nearby hardware out of the moving path. Do not treat the advertised bird passage as the overall cutout size or assume that every vertical door needs the same space above it.
Mount without pulling the frame out of shape
Follow the specified mounting side, orientation, fastener positions, and wall requirements. Support the unit while fitting it so the frame is not hanging from one corner. Tighten fasteners as instructed; forcing a frame against uneven boards can change its alignment rather than correct the wall.
The official T50 Bluetooth video below is useful for seeing how that particular unit is offered up to a wall and secured. Its clearances, fastener count, battery activation, and app screens belong to the demonstrated generation. They are not a universal installation specification for Omlet, ChickenGuard, another T50 version, or a separate motor-and-panel kit.
After mounting, inspect the complete perimeter and the wall around it. An automatic panel does not close a gap beside the frame. Check that cables or other accessories cannot enter the moving path and that the arrangement follows the supplied weather-exposure instructions.
If a panel binds, stop and check the mounting against its instructions. Do not enlarge a track, lubricate a mechanism, or increase motor force because an unrelated video suggests it. A distorted frame or damaged component needs the maker’s troubleshooting route.
Set power and operating mode deliberately
Install only the specified power source and batteries, observing the instructions for polarity, weather protection, and replacement. A solar or external-power option must be compatible with the exact unit. Do not improvise a supply because a connector happens to fit.
Next, write down the mode you have selected: fixed time, measured light, calculated sunrise/sunset, or a supported combination. Check the clock or location settings where applicable. A Bluetooth configuration feature does not by itself establish that the door has internet access or can be controlled from anywhere.
Record any opening and closing offsets you choose. Before using defaults, compare the planned closing behavior with when your actual flock enters. The right commissioning observation is whether all birds are inside before closure, not whether the app shows a plausible sunset time.
Run the safety and movement checks in the manual
With birds clear of the mechanism, run the manufacturer’s required opening and closing checks. Confirm the panel reaches the intended positions without rubbing or leaving the passage partly open. If the system needs calibration, use its exact procedure after the frame is correctly mounted.
For obstruction detection, use only the test method and object specified by the manufacturer. Never use a bird, your hand, or another body part as a test object. Confirm whether the feature needs to be enabled and what happens after an interruption; stopping once does not tell you whether the door later retries closure.
If a required check fails, retain your manual securing routine and resolve the failure before relying on automation. Our automatic-door comparison explains why control methods, installation demands, and maintenance access matter alongside the passage size.
Commission with the flock's real routine
For the first actual evening operation, stay to observe entry and closure, count the birds, and inspect the closed opening. Check the next opening too. Keep observing until you understand the flock’s routine and the chosen control behavior; this is not a guarantee that a fixed number of successful cycles eliminates future failures.
Make a short handover note: model, manual location, power source, mode, current settings, routine inspection points, and the approved way to secure the coop if the door fails. Anyone caring for the birds should be able to find that information without guessing how to force the panel.
A door is only one part of the enclosure. Compare the surrounding wall, vents, and run with the security and maintenance checks in our coop selection guide. Continue physical inspections even when the controls operate normally.
Common questions
Can I use the bird passage size as the installation cutout?
No. Confirm the exact mounting drawing. The clear passage, full frame, required wall opening, and moving-panel clearance can be different measurements.
Does Bluetooth mean I can close the door from anywhere?
No. Bluetooth is not evidence of internet connectivity or unlimited remote control. Check the exact controller's supported connection and operating modes.
How should obstruction detection be checked?
Use only the manufacturer's specified procedure and test object with birds clear of the mechanism. Never test with a bird, hand, or other body part, and do not rely on automation if the required check fails.
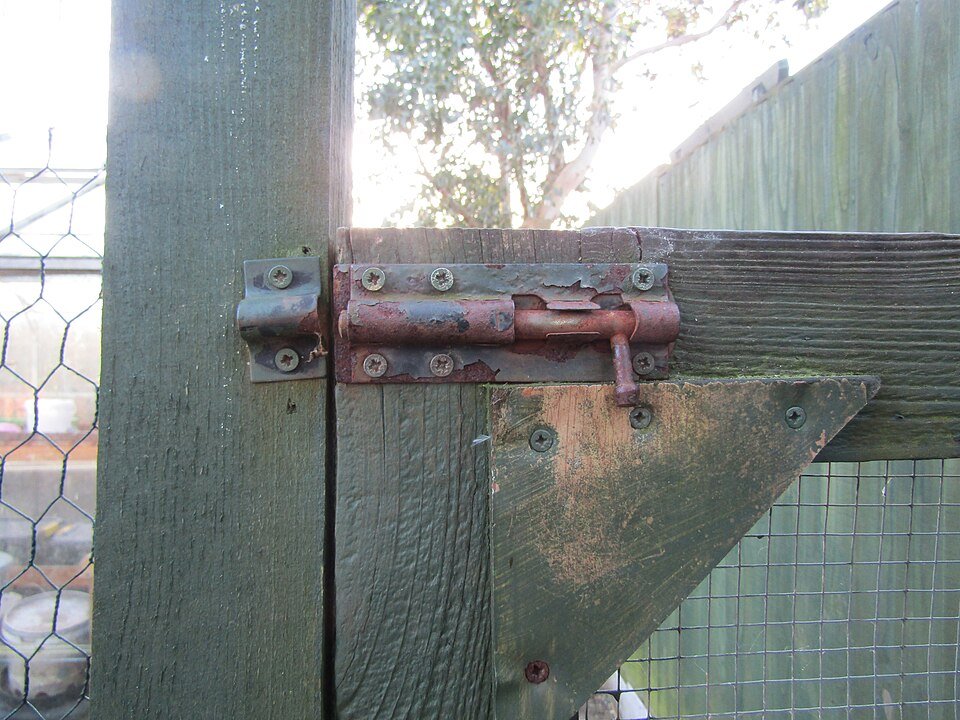
Cover photograph by Kolforn, CC BY-SA 4.0, via Wikimedia Commons. Contextual photograph; it does not identify a recommended product or endorse the installation shown. Original planning diagram by Backyard Henhouse.
