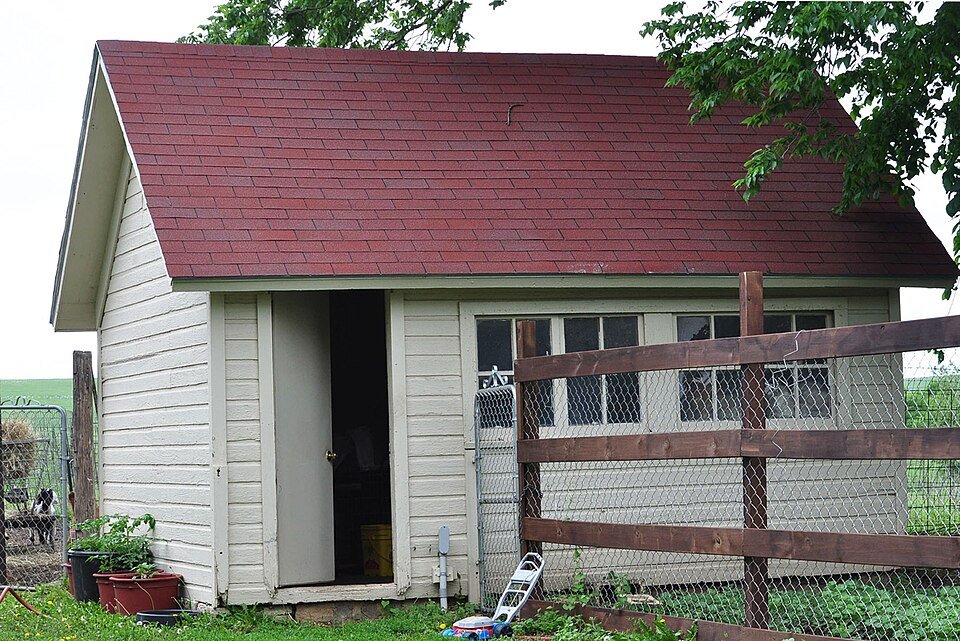
Choose a chicken coop by its usable house and run space, secure openings, ventilation and cleaning access before comparing advertised bird counts. Ask for internal measurements and the assembly instructions, then check the footprint at home. A coop that fits the yard still has to fit the flock and the person who maintains it.
We may earn a commission when you buy through links on this page.
Start with a drawing, not a bird-capacity label
A listing may combine the sleeping house, an attached run and an external nest box into one overall length. Those measurements help you place the structure. They do not tell you the floor area available inside the house. Ask the seller for a dimensioned plan showing each space separately. If the only answer is “holds six chickens,” keep the question open.
On your drawing, label the house, run, nest extension, ramp and access doors. Mark which measurements are internal and which include framing or roof overhangs. Our guide to coop and run space explains why published space recommendations differ and how to choose an allowance. Set that requirement before shopping so a product description does not quietly change your flock plan.
Outside footprint and usable floor
For a measurement example, suppose a seller confirms a rectangular house with an unobstructed internal floor 4 feet long and 3 feet wide. That rectangle is 12 square feet. A separate 2-by-3-foot nest extension does not turn it into 18 square feet of ordinary living floor. A 4-by-8-foot run is another 32 square feet outdoors, not an addition to the indoor total. These are example dimensions, not a recommendation for a particular number of hens.
Furniture still matters. Draw the actual feeder, waterer, roost supports and route to the doorway on the plan. A floor area calculation cannot show a narrow bottleneck or equipment blocking access. If the seller cannot provide usable internal dimensions, record capacity as unresolved rather than estimating it from a photograph.
Check the site with every door open
Mark the proposed footprint on the ground with string. Include roof overhangs, any attached run and the direction each lid or door opens. Stand where you would collect eggs, lift the waterer and remove bedding. A fence immediately beside a cleanout door can make a seemingly generous yard layout awkward every week.
University of Maryland Extension's housing guidance calls for a well-drained location and adjustable ventilation. Use that as a reason to inspect the site after rain. Look for runoff routes, puddles beneath the proposed run and places where roof water would discharge. A decorative roof will not solve a low spot that collects water from the rest of the yard.
Check your local requirements before ordering. Setbacks, permitted flock size and accessory-building rules depend on location; a seller’s shipping availability does not establish permission to install the coop. Keep the approved placement and the product drawing together so a late change in location does not leave an access door against a boundary.
Read the security details in the assembly manual
Look closely at vents, run panels, door edges and the connection between the house and run. Ask what mesh is supplied, how it is fastened and whether gaps remain when the structure is assembled. “Wire included” is too vague to compare. Mesh opening size, construction and the surrounding frame all matter.
Maryland recommends half-inch hardware cloth over windows. That is one specification for one part of the enclosure, not certification that a complete kit excludes every predator or rodent. Our hardware-cloth sizing guide separates mesh openings from wire gauge and explains the limits of treating a material name as a protection guarantee.
Ask how every door latches and how the base meets the ground. If the installation needs an apron, foundation, additional fasteners or a covered run, put those items on the purchase list. Do not count on adding them later without checking how they attach. An attractive panel can still be a poor purchase if the required frame modifications are beyond the work you can do.
Make cleaning access a purchase requirement
Read the cleaning instructions while imagining the coop in its final position. Can you reach the far corner through the cleanout door? Can a tray slide out completely without moving the coop? Does an external nest lid give access to the nest floor, or only enough room to collect eggs? These questions reveal more than the presence of a removable tray in a feature list.
Measure your bucket or bedding container as well as the opening. If you would have to transfer waste through a small hatch one scoop at a time, decide whether that is workable before paying for delivery. Check the planned bedding depth against tray edges and door thresholds, too. More bedding can change how an opening or sliding component functions.
Use the tasks in our coop-cleaning guide as a walkthrough. The goal here is to check whether the structure lets you perform those tasks. A finish described as easy to wipe does not answer whether you can physically reach the surface or dry the area after cleaning.
Look for adjustable airflow and serviceable parts
Count the actual ventilation openings and find them in the plan. Ask which remain usable during rain and how they can be adjusted without leaving an unsecured hole. A window shown wide open in a product photo may not represent the setup you will use in winter. Avoid choosing between a completely closed house and one unprotected opening as if those were the only options.
The University of Maine's pullet-housing guide discusses air exchange and removing wet bedding, including around waterers. That makes ventilation and spill management practical buying questions. Look for space to position equipment without soaking bedding and for access to remove a wet patch promptly. This is a housing assessment, not a way to diagnose a sick flock.
Then ask about replacement parts. Note the model number, assembly manual, roof material and availability of hinges, latches or trays. Check whether a damaged component can be removed independently. A coop that can be repaired in sections may be more manageable for your situation than one that needs a large bonded panel replaced, but confirm that the relevant part is actually supplied.
Send these questions before ordering
Request the usable internal house dimensions and separate run dimensions, the mesh specification, the installation manual and a drawing with doors open. Ask which foundation, anchoring and weatherproofing work is required at your site. Save the answers with the exact model and size you intend to buy; a reply about a larger version does not resolve the smaller kit’s measurements.
Make a short decision sheet with three columns: requirement, evidence and remaining work. For example, “cleanout tray clears the fence” should have a measured distance beside it. “Ground drains after rain” should have a site observation. Leave an unanswered item blank rather than converting it into a favorable assumption.
With those checks complete, use the chicken coop comparison to narrow the construction and layout options. Choose the model that meets your measured requirements and maintenance routine. If none does, change the design or flock plan before changing the definition of usable space.
Common questions
Should I buy a coop rated for more chickens than I own?
A larger advertised rating does not establish usable space. Compare the confirmed internal house and run measurements with the allowance you chose for your flock, then check the layout and access.
Can I count an attached run as indoor coop area?
Record it separately. A run and an enclosed house serve different purposes, so adding their areas hides whether the indoor space meets your plan.
What if the listing only provides outside dimensions?
Ask for a dimensioned internal plan. Until that is available, treat usable capacity as unresolved and use the outside measurements only for site placement.
Cover photograph by SharonPapierdreams, CC BY-SA 4.0, via Wikimedia Commons. Original planning diagram by Backyard Henhouse.
