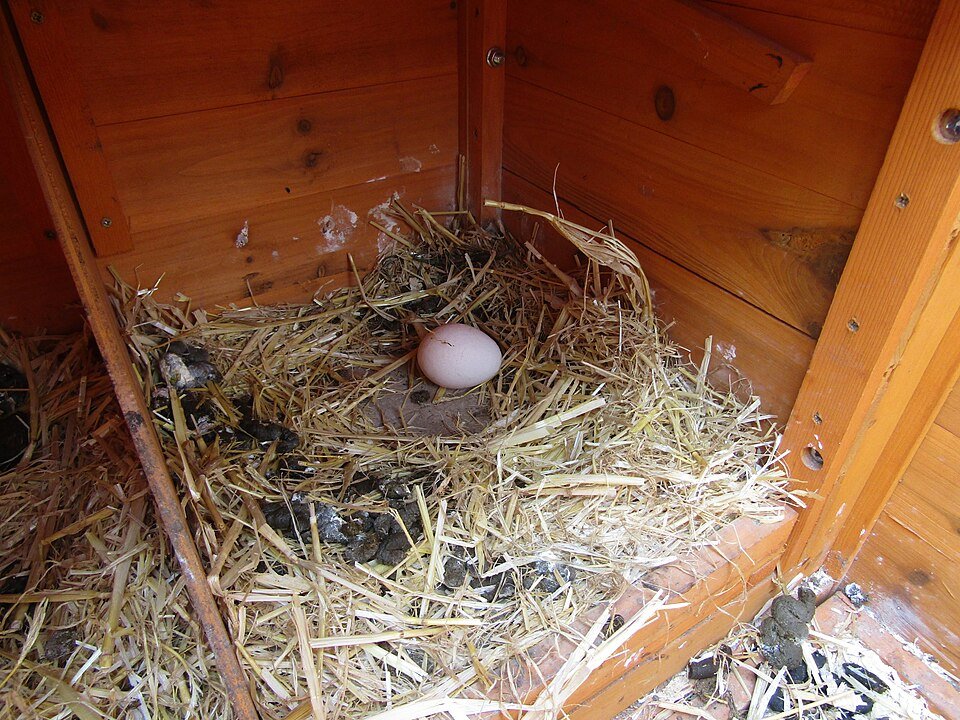
Put chicken nesting boxes in a quiet, sheltered part of the coop where hens can enter easily and you can collect eggs, inspect the lining, and clean every compartment. Keep the boxes out of the droppings path beneath roosts and out of the main doorway route. Before fixing a box permanently, check the space needed by its lid, egg tray, and any access perch.
We may earn a commission when you buy through links on this page.
There is no single corner or mounting height that works for every coop. A good location must suit the box’s instructions, the building, and the birds that will use it. Treat a location that blocks cleaning or narrows the entrance as a fit problem, even if the box itself fits against the wall.
Start with three routes through the coop
Sketch the doorway, roosts, feeding and drinking points, and the proposed nests. Mark how a hen reaches the nests, how you collect eggs, and how the box or lining comes out for cleaning. These routes can overlap in a small building, but they should not depend on moving a full waterer or dismantling another fixture every time.
The University of Maryland's construction guidance treats nests and roosts as separate features. In your layout, inspect what is directly above the nest entrance and any landing surface. A perch over the box can create a cleaning problem even when the nest’s interior is covered.
Start with the equipment you actually have. A front-access wooden box, an externally accessed bank of nests, and a rear-collection roll-away box need different service space. Our nesting-box comparison helps you identify those differences before deciding where to mount one.
Check three routes around the nest
Favor a quiet nest without making access difficult
The Association of Avian Veterinarians' backyard-chicken guidance describes quiet, dark nesting areas. Apply that by avoiding a position directly in the busy entrance or beside an activity point that repeatedly disturbs hens approaching the nest.
Quiet does not mean inaccessible. Check that birds can see and use the intended entrance and any supplied access perch. Avoid creating an awkward gap that requires a hen to squeeze between a waterer and a nest bank. Also check for exposed sharp edges or other hazards around a newly mounted box.
If the building offers only one practical wall, work through the conflicts instead of declaring that wall unsuitable by compass direction. Moveable feeding equipment may offer more flexibility than structural posts or a fixed door. Keep the nest’s own installation requirements as the boundary for those adjustments.
Check height against the actual design
Use the box manufacturer’s mounting instructions and consider the birds’ access. Do not copy a height from a photograph of a different box. Height to the nest floor, height to the entrance lip, and height to an access perch are different measurements.
Published coop plans do not all use the same relationship between roost and nest heights. This guide therefore does not prescribe a universal rule that every nest must be above or below every roost. The practical check is whether the selected arrangement provides usable access, separates the resting and nesting functions, and keeps droppings away from nest entrances and collection areas.
Try the intended access route before final installation, with the box securely supported as its instructions require. Once installed, observe hens approaching and entering. Difficulty reaching the entrance is a reason to revisit the arrangement, not to assume all hens will eventually use an unsuitable route.
Preserve cleaning and egg-collection clearance
Open every lid or tray through its full permitted movement. Can you remove it without hitting the roof, a brace, or the run mesh? Can you reach the rear corners and replace a liner without unmounting the entire box? Make these checks with the actual wall and nearby fixtures in place.
The North Carolina State Extension garden-chicken guide includes external egg-access arrangements in coop planning. An outside access door can make collection convenient, but it also becomes an opening that needs sound construction, weather protection, and secure closure.
For a roll-away box, allow room for its collection tray and lid as well as the housing. Keep the approved egg path clear. A wall behind the tray can make a correctly sized nest impossible to service. Before adding lining, check the box’s directions and compare compatible materials in our nesting-pad guide.
Use a simple fit example
Suppose a hypothetical nest housing is 24 inches wide and the wall space between two posts is 26 inches. The housing appears to fit, but its collection lid needs space beyond the housing when opened. The two-inch difference does not establish that the complete installation works.
Put the actual dimensional drawing against the wall and mark the operating clearance separately. Add the bird approach area and your collection position to the sketch. If one of those spaces is blocked, choose another location or a different box instead of modifying the mechanism without the maker’s approval.
These example measurements describe no particular product. They demonstrate why an outside width alone cannot establish fit. The same reasoning applies when a nest bank projects into floor space that was previously available for birds or maintenance.
Inspect the rest of the layout after installation
Recheck doorway access, feeding and drinking access, and the usable indoor area. A new nest bank can change all three. Do not count an external nest extension as proof of additional general living floor or automatically increase the flock size because more nest compartments have been added.
Location and quantity are separate decisions: a suitable number of boxes in a congested or unserviceable position is still a poor arrangement. When comparing a complete building, check its usable space, access, and nesting arrangement together in our coop comparison.
During routine collection, look for wet lining, droppings, blocked access, and difficulty operating lids or trays. Record where eggs are appearing and whether hens can use the intended route. Observation can guide a layout adjustment, but repeated floor laying or a change in a bird’s condition may require further investigation rather than a promise that moving the box will solve everything.
Common questions
Must nesting boxes be a particular height above the floor?
There is no universal height in this guide. Follow the exact box's installation directions, distinguish the floor from the entrance and perch, and check access for the birds using it.
Can I put nesting boxes under a roost?
Inspect the droppings path and keep the nest entrance, lining, landing area, and collection route protected from soiling. A covered nest interior does not automatically protect every surface around it.
Does a box fit if its housing is narrower than the wall?
Not necessarily. Check the lid, tray, access perch, bird approach, and cleaning clearance too. Use the exact installation drawing rather than the housing width alone.
Cover photograph by Kolforn, CC BY-SA 4.0, via Wikimedia Commons. Contextual photograph; it does not identify a recommended product or endorse the installation shown. Original planning diagram by Backyard Henhouse.
