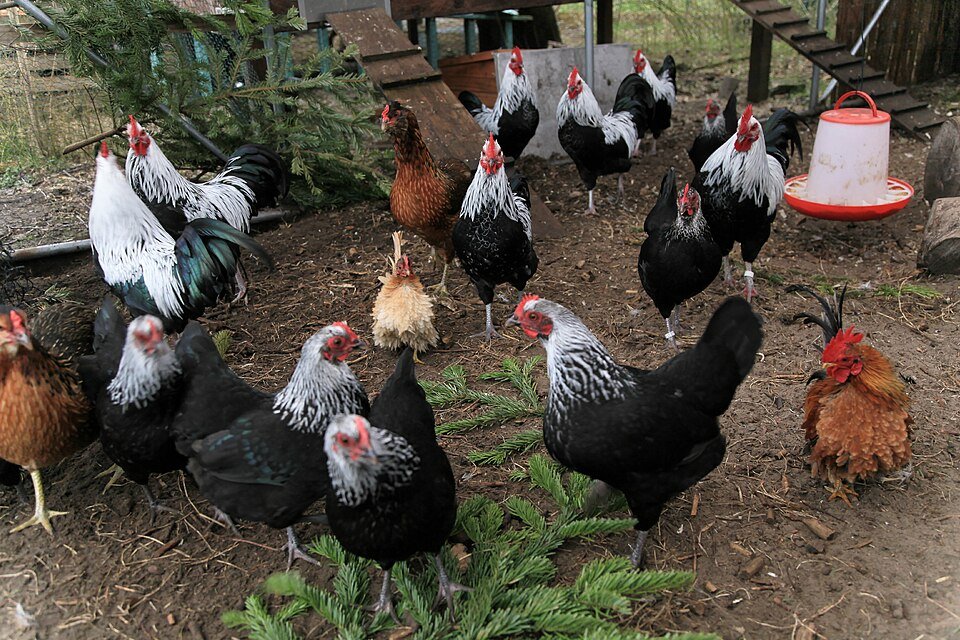
Put chicken feeders where feed stays dry and birds can approach without blocking the coop entrance. Put waterers on their approved stable support or hanging arrangement, away from roost droppings and with enough access for the flock. Choose the final positions by watching birds use both, then checking spills, wet bedding, refill access, and competition.
We may earn a commission when you buy through links on this page.
Inside versus outside is not a complete placement plan. A sheltered run may offer usable space during the day, while an exposed location may leave feed vulnerable to rain or water subject to freezing. Start with the weather protection, enclosure, equipment instructions, and birds’ actual access at the times they need it.
Draw the routes before choosing the corners
Mark the entrance, ramp, roosts, nests, and maintenance access on a simple plan. Add the feeder and waterer at their full working size, including the space birds occupy while using them. A container that fits against a wall may lose half its usable approach area there.
Then mark your route for carrying water and feed. Can you refill without stepping over birds on a narrow ramp or removing a nest tray? Can the waterer come out for cleaning? A location that works only when everything is empty may be awkward once the equipment is full.
The backyard-flock guide developed by UCCE and CDFA emphasizes access to feed and water for every bird. Apply that by looking at usable approaches, not just the number of containers visible on your sketch.
Place equipment around usable routes
Keep feed dry and away from the main traffic route
Choose weather protection appropriate to the feeder. Check the hopper, lid, feeding ports, and tray after rain rather than assuming a covered top protects every part. Wind-driven rain can reach a feeding opening even when the storage section looks dry.
Avoid placing the feeder directly in front of the coop door or at the narrowest point of a ramp. Birds stopping to eat should not prevent others from entering or leaving. Also check that the feeder is not beneath a roost or a place where birds regularly perch above the feeding surface.
Use the maker’s support or hanging directions. If the model has a moving treadle, count the platform and its operating space as part of the installation. A wall, loose bedding, or adjacent fixture should not interfere with that movement. Compare the arrangements in our chicken-feeder guide if the existing model cannot work in your available space.
Check waterer height by outlet and bird size
There is no single back-height rule for every poultry drinker. Cups, open troughs, and nipples present different drinking points. Use the exact unit’s instructions and check the smallest birds that will use it, not just the largest hen standing nearby.
For example, the Omlet 3-gallon/12-liter insulated-waterer USA manual gives different reference heights for its cups and nipples: the smallest chicken’s back for cups and beak for nipples. It also identifies the model as unsuitable for chicks. Those are model-specific instructions, not measurements for every drinker.
Set a permitted stand on level ground or use a hanging arrangement supported as instructed. Check stability when full. Do not raise a waterer to reduce bedding contamination if that makes drinking difficult for part of the flock. A useful outlet must be both working and reachable.
Allow access around the equipment
Walk around the feeder or waterer and count only the edges or ports birds can actually use. A long trough against a wall does not offer both sides. A circular feeder pressed into a corner loses approach space even though its circumference has not changed.
Our feeder-space guide explains how to distinguish accessible linear edge from stored feed volume. Do not convert port count, pounds in a hopper, and trough inches into one universal flock capacity.
Watch the flock after installation. If a bird is repeatedly displaced or cannot approach, reconsider the layout and available equipment rather than treating a capacity label as proof of access. A second location may be useful, but it needs to be genuinely accessible rather than placed beside the same bottleneck.
Separate spill management from an arbitrary distance
No fixed feeder-to-waterer distance is established here for every coop. Keep enough room to inspect, refill, and clean each unit and to prevent a wet waterer area from compromising feed. In a small building, those practical checks are more useful than copying a spacing number without its context.
As a hypothetical example, a feeder and waterer each fit along one wall, but the waterer’s refill path crosses the open feed tray. Moving the waterer to another approved position may make the refill less likely to soak feed and easier to perform. The improvement comes from the route, not a magic number of feet between containers.
After a refill, inspect the surrounding bedding and the outlet. Repeat the check while birds drink. Our waterer-capacity guide explains why a full tank does not prove reliable delivery or establish how long you can leave it unchecked.
Review inside and outside positions through the season
An outdoor location needs suitable shelter, security, and weather-compatible equipment. Check the unit’s temperature limits, rain exposure, and the surfaces birds stand on. A location that works in dry weather may need a different plan when water freezes or the run becomes muddy.
An indoor location needs room for access and spill management without compromising the rest of the coop. Keep birds supplied with accessible water as part of routine care. The University of Minnesota's egg-flock guidance calls for fresh water daily; reservoir size does not remove that management task.
Before accepting a location, complete one ordinary refill and cleaning removal, check after relevant weather, and watch several birds use it. Record any wet patch, blocked approach, or interference with doors. If the waterer design itself does not suit the space, compare alternatives in our waterer guide. Keep the decision tied to the problem you observed.
Common questions
Should chicken feeders and waterers always be outside?
No. Assess weather protection, enclosure security, equipment instructions, and flock access. Indoor and outdoor positions both need checks for contamination, spills, maintenance, and seasonal conditions.
Should every chicken waterer be at back height?
No. Follow the exact model and outlet instructions and check smaller birds. The cited Omlet manual uses different reference heights for cups and nipples and does not cover chicks.
How far apart should a feeder and waterer be?
This guide does not establish a universal distance. Provide usable bird approaches and service access, and keep water spills or refilling from wetting feed. Observe the actual setup before accepting the positions.
Cover photograph by Frank Vincentz, CC BY-SA 3.0, via Wikimedia Commons. Contextual photograph; it does not identify a recommended product or endorse the installation shown. Original planning diagram by Backyard Henhouse.
