Plan electric poultry fencing by walking and measuring the actual boundary, then checking bird suitability, daily access, compatible power, grounding, and a secure fallback enclosure. Buy the net only after those parts fit together. A roll’s length is a perimeter budget, and an electrifiable net without a working system is not a dependable substitute for a physical enclosure.
We may earn a commission when you buy through links on this page.
Make a one-page site plan before comparing brands. Record where the chickens will be housed at night, where the temporary fence will run, how people will enter, and what happens when the fence is moved or unpowered. The practical test is whether someone can feed, water, inspect, and secure the flock using that plan every day.
Write down the job before measuring
Start with a specific purpose, such as giving an adult flock supervised access to another patch of ground. Decide which parts of the existing enclosure remain in use and how birds travel between them. A new outer boundary should not leave the coop doorway opening into an unsecured gap during ordinary use.
Oklahoma State Extension's predator guidance distinguishes temporary electric fences that deter larger ground predators from protection against raptors, snakes, and small rodents. That makes the task definition consequential. If the main problem is a small opening beside a coop door, purchasing a larger pasture net does not repair it.
Our hardware-cloth comparison covers material formats for a separate physical barrier. Keep that construction decision separate from choosing a portable electrified boundary. Neither a roll of mesh nor an electric net establishes the quality of the complete enclosure by itself.
Make a complete site plan
Walk the proposed route with your care equipment
Walk the entire fence line rather than measuring one straight side and guessing the rest. Mark corners, changes in slope, trees, existing metal fencing, and any place where the route crosses a walking or working path. Note where an additional support may be needed according to the net’s instructions.
Then make the ordinary care trip. Carry or wheel the equipment you normally use for water, feed, and cleaning. Identify the actual entrance and the way it will be closed again. A layout that works while empty-handed can become awkward when both hands are occupied or a wheelbarrow needs to turn.
Record where the equipment will stand after the fence is in place. A feeder or waterer placed in the only useful entrance can make every visit harder. The site sketch should show a service route, not merely a shape large enough to surround the birds.
Calculate the boundary before calculating area
For a hypothetical rectangular layout measuring 20 by 30 feet, the perimeter is 2 × (20 + 30) = 100 feet. Its gross area is 20 × 30 = 600 square feet. These are two different answers: one describes the boundary needed, and the other describes the area inside the idealized shape.
If a 6-by-4-foot coop occupies part of that rectangle, its 24-square-foot footprint would leave 576 square feet before accounting for other objects and unusable areas. That subtraction is only a layout illustration. It does not establish a flock capacity, a stocking allowance, or a measured installed area for a particular product.
A desired 25-by-30-foot rectangle needs 110 feet of boundary. A 100-foot roll does not become sufficient because the seller’s area example looks generous. Adjust the proposed route or plan a compatible complete system with the supplier. Do not assume that cutting a net or leaving unused energized material bundled is an approved way to make it fit.
For sleeping space and the rest of the enclosure, use the measurements appropriate to that separate job. Our coop buying guide explains why a combined shelter-and-run footprint cannot establish the usable indoor floor available to the birds.
Check the birds and the boundary together
Record the age and size of the birds intended to use the area. Premier's PoultryNet guidance warns that small chicks can pass through its net openings and identifies entanglement risk. Do not infer suitability for chicks from an adult hen pictured beside a net.
Plan to observe the birds when they are first introduced, following the system’s instructions. Decide how you will isolate power and respond if a bird becomes caught, without improvising around an energized fence. An unsuitable enclosure should be changed before relying on it, rather than treated as a training problem for the flock.
The plan also needs a response when a bird repeatedly crosses or approaches the boundary in an unsafe way. More height or a larger energizer is not automatically the answer. Assess the complete arrangement, the birds, and the manufacturer’s guidance instead of escalating equipment on guesswork.
List the entire power and connection system
Write the exact net model and the proposed compatible energizer on the same page. Add the specified grounding components, connections, suitable tester, and any power-source components that energizer requires. A solar-powered energizer is an appliance with its own requirements; the net should not be connected directly to a panel, a battery, or a household outlet.
Premier’s instructions exclude continuous-output energizers for its electric netting. Follow the applicable net and energizer documentation rather than choosing on the word electric or a headline joule figure. This worksheet does not establish one universal energizer rating or grounding design for every soil, number of rolls, and site.
Separate items already owned from items still to confirm. An old energizer in the shed belongs in the second group until its model, condition, and compatibility have been checked. Likewise, a power indicator is not proof that the working fence has the voltage required by its instructions. Identify the appropriate testing procedure before the first use.
Plan maintenance, moves, and outages
Walk the route again with ground maintenance in mind. Identify where vegetation can contact conductive strands and how you will manage it without damaging the net. Keep the maker’s required clearance from metal and other conductive objects in the installation plan; an improvised support can create a new problem.
If the enclosure will rotate, draw the next location too. Confirm its boundary, entrance, ground conditions, and care route instead of assuming the first setup can be moved unchanged. Grounding and supports need assessment at the place where the fence will actually operate.
Write down where the flock will stay during a move, a power interruption, or a repair. The fallback should be usable when needed, with water and access for care. A promise to solve the problem later is not part of a functioning enclosure plan.
Turn the sketch into a buying list
Your finished page should identify the task, measured boundary, daily entrance, birds, exact net, compatible power and grounding arrangement, testing method, support needs, and fallback enclosure. Put a question mark beside every unresolved part. Resolve those questions with the relevant supplier or an appropriately qualified adviser before purchasing a collection of mismatched components.
Then compare the exact selected offers in our electric poultry-netting guide. It distinguishes net-only rolls from complete powered packages and separates length from post layout. Use the plan to decide which documented format fits; a larger roll or a more elaborate kit is useful only if it answers the actual site requirements.
Keep the completed page with the equipment instructions. It gives another caregiver a concrete route and a list of checks, and it makes the next move easier to assess. Update it when the enclosure, birds, equipment, or care arrangement changes.
Common questions
Does a 100-foot poultry net make a 100-square-foot pen?
No. One hundred feet describes boundary length. An idealized 20-by-30-foot rectangle uses a 100-foot perimeter and encloses 600 square feet before subtracting objects or unusable space. That arithmetic is a planning example, not a flock-capacity claim.
Can I plan the energizer after choosing the net?
Confirm the complete compatible system before buying. The net, energizer, grounding, connections, testing equipment, and power source have related requirements. A net-only offer does not include all those components merely because its title says kit.
What should the plan say about a power failure?
Identify a suitable secure enclosure where the flock can remain with access to water and care while the electric system is out of service. Include that arrangement before relying on the fence. An unpowered net is not equivalent to a properly designed physical enclosure.
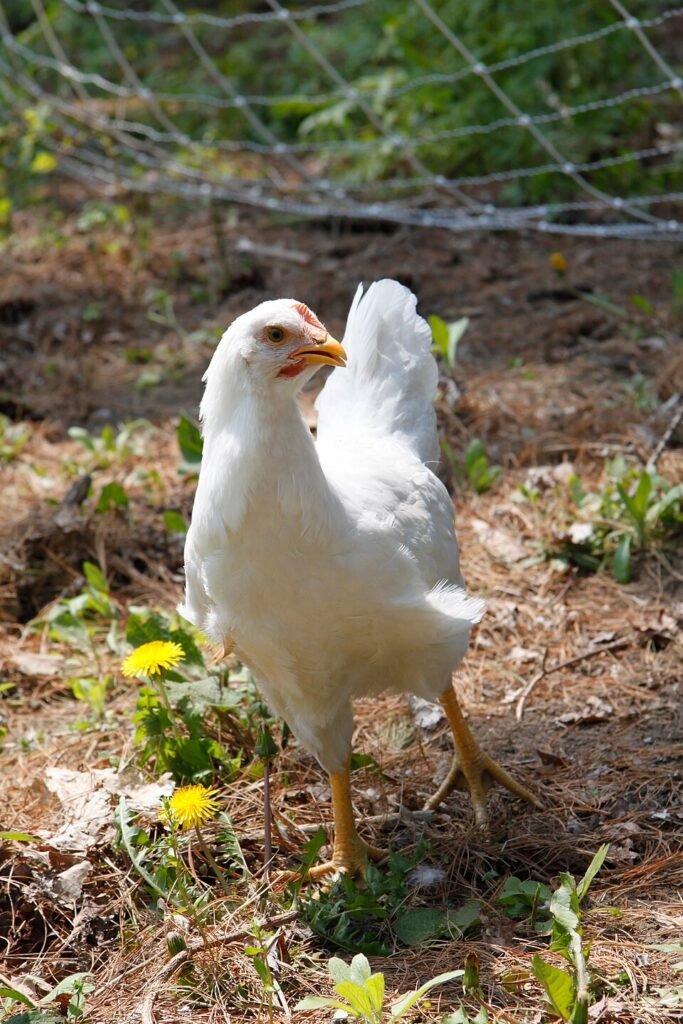
Cover photograph by Tim Sackton from Somerville, MA, CC BY-SA 2.0, via Wikimedia Commons. Contextual photograph; it does not identify a recommended product or certify the installation shown. Original planning diagram by Backyard Henhouse.
