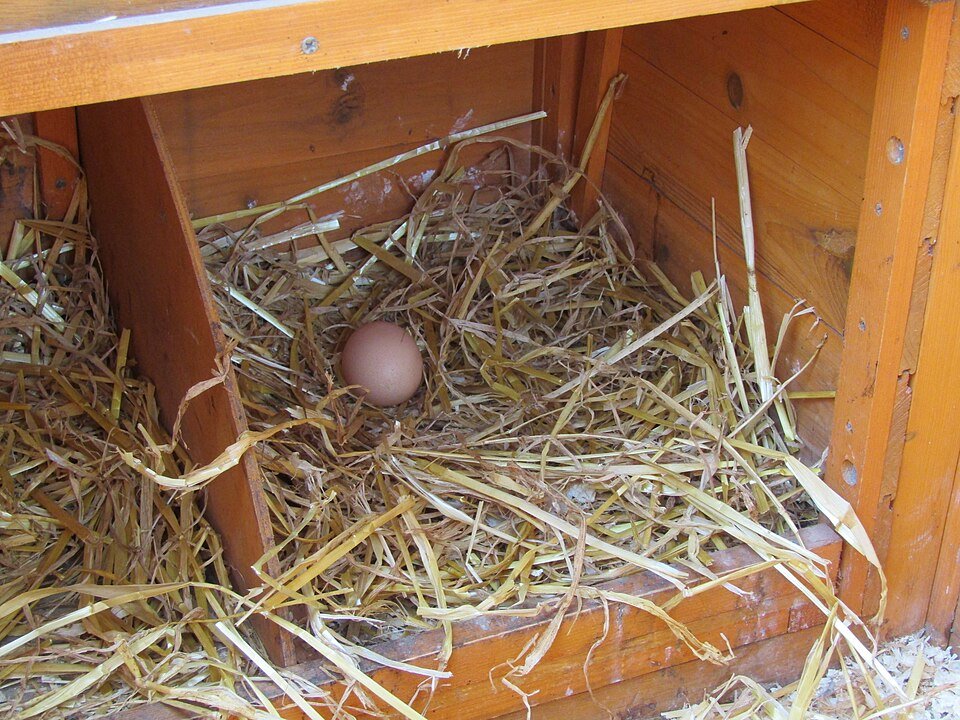
Fit chicken nesting pads by measuring the usable nest floor, checking the pad’s backing and trimming instructions, and laying it flat without blocking the entrance, tray, or egg path. Treat fixed-floor and roll-away boxes differently. A pad that covers a conventional nest floor can be too bulky for a roll-away design.
We may earn a commission when you buy through links on this page.
Start with the nest’s actual interior rather than the outside dimensions printed on its box. Curved corners, a retaining lip, dividers, or a sloped tray can make the usable area different from a simple rectangle. Keep the birds clear while measuring and fitting, then observe how the completed nest is used.
Identify the floor and the pad
Confirm whether your box has a conventional fixed floor, a roll-away floor, or a manufacturer-specific liner system. Read the box instructions before adding a separate pad. A supplied mat or specified liner may be part of the design rather than an optional accessory to replace with a thicker generic product.
Then identify the exact pad: material, dimensions, backing, and permitted trimming. Similar product names can cover different sizes or versions. Our nesting-pad comparison keeps those differences visible instead of assuming every pack is a 13-inch square.
For example, Happy Hen Treats lists its nest pads at 9 by 12 inches and describes a paper-backed wood-excelsior design. Check the delivered package and matched listing if your dimensions differ. Do not silently substitute a measurement from another pack or marketplace title.
Measure the usable floor before fitting
Measure inside the retaining edges
Record the usable floor width and depth at the points where the pad must lie. Note projecting fasteners, curved corners, dividers, and anything that narrows the floor. Measure the entry lip separately so you can see whether the pad will rise above or press against it.
For a conventional rectangular box, a paper or cardboard template can help you check shape without repeatedly cutting the pad. Make and remove the template while birds are clear; it is a measuring tool, not bedding to leave in the nest. Mark the intended front edge so you do not confuse width and depth.
Use hypothetical dimensions to see the decision: a 13-by-13-inch pad does not lie flat on a 12-by-12-inch floor simply because it can be pushed inside. Check whether the pad maker permits trimming, then whether the resulting edges and backing remain suitable. If trimming is not supported, choose a compatible size rather than bunching excess into the corners.
Keep backing that is part of the product
Do not assume a paper backing is packaging to peel away. Eaton Pet and Pasture's premium-pad instructions describe an aspen pad with kraft-paper backing and call for keeping that backing in place. Follow the exact pad’s directions rather than transferring that rule to every loose-fiber product.
The backing helps identify which side and structure the manufacturer intends you to install. Check for a specific orientation and do not separate layers merely to make an oversized pad fit. If it arrives damaged or does not match its description, resolve that with the supplier before installation.
If trimming is permitted, work on a separate surface with the appropriate tool and remove offcuts before returning the pad to the nest. Do not cut inside an occupied nest or leave sharp waste or loose packaging behind. Avoid staples, exposed wire, or improvised adhesives as a way to hold an incompatible pad in place.
Lay a fixed-floor pad flat and check the edges
Place the pad in the approved orientation and check that the usable floor is covered as intended. Look for curled edges, bunching at corners, and a front edge that interferes with the entrance. The fit should not depend on compressing a large fold against the side wall.
Operate any lid, tray, or removable floor through its normal movement. A pad that seems flat with the box closed may catch when the floor is withdrawn. Confirm that you can remove it for inspection without dismantling the nest bank.
If several compartments appear identical, check each one rather than assuming the first measurement covers all of them. Small differences in an older wooden box can matter at a retaining lip or divider. Marking the compartment on your temporary template is a simple way to keep the measurements straight.
Follow the roll-away box before adding thickness
In a roll-away design, the approved floor surface and unobstructed route to the collection area matter. Do not fill a sloped tray with a thick conventional pad and then claim the box will still roll eggs reliably. Check the maker’s lining and introduction instructions for the exact design.
The Homestead Essentials three-compartment Classic-tray instructions are a model-specific example: they address introducing hens to that roll-out arrangement and its lining. They do not establish that any aftermarket pad is compatible with every roll-away box.
If your maker specifies a particular mat, use that specification when comparing replacements. If compatibility remains unclear, ask the manufacturer before adding a pad that changes the floor. The nesting-box guide distinguishes conventional and roll-away arrangements so you can start with the right type of fit check.
Inspect after hens use the nest
After normal use, check whether the pad stayed in position, whether the lining is dry and acceptably clean, and whether eggs reach the intended collection area. This is a practical follow-up, not proof that a liner will prevent every cracked or dirty egg.
If hens pull material toward the entrance, examine the actual fit and the box directions before adding a fastener. If a roll-away route is obstructed, correct the lining according to the box’s instructions rather than increasing the slope or forcing a tray into a new position.
Replace soiled, wet, or damaged material as needed for the product and setup; no universal weeks-per-pad promise is made here. Keep spare pads in their suitable clean storage and retain the label so the next replacement matches the same specification. If you are selecting the whole building, our coop comparison considers its access and layout alongside the nesting arrangement.
Common questions
Should I remove the paper from a nesting pad?
Not automatically. Some pads use paper as an intended backing, including the cited Eaton product. Follow the exact pad's instructions and distinguish backing from shipping packaging.
Can I cut any nesting pad to fit?
Check whether the maker permits trimming and whether it preserves the intended structure. If that is unclear, choose a compatible size instead of folding excess material into the nest.
Can I put a thick pad in a roll-away nesting box?
Only use lining compatible with that box's instructions. Added thickness or bunching can interfere with the intended egg path, so a pad suitable for a fixed-floor box is not automatically suitable for a roll-away tray.
Cover photograph by Kolforn, CC BY-SA 4.0, via Wikimedia Commons. Contextual photograph; it does not identify a recommended product or endorse the installation shown. Original planning diagram by Backyard Henhouse.
