Adult laying hens need a dry, secure coop with usable floor space, ventilation, roosts, nesting boxes and bedding, plus reliable access to appropriate feed and clean water. Plan the outdoor run alongside the house. This checklist covers a settled adult flock; newly hatched chicks need a separate brooding setup.
We may earn a commission when you buy through links on this site.
Start with the layout before buying accessories. A unit can include nests, a feeder and a ramp while still leaving you without enough usable house space, a secure perimeter or a workable cleaning route. The useful question is where each essential will go and how you will reach it every day.
The essentials at a glance
| Essential | What to check before birds arrive |
|---|---|
| Weather protection | A dry shelter, working roof and doors that close securely. |
| Space | Separate usable measurements for the house and run. |
| Ventilation | Air openings that remain useful when the access doors are shut. |
| Roosts | Usable perches with safe access and no sharp edges. |
| Nest boxes | Accessible laying spaces with clean bedding. |
| Feed and water | A location the birds can reach and you can service. |
| Bedding and cleaning | Dry floor covering and access to every part of the enclosure. |
| Predator protection | Secure openings, doors and a considered ground perimeter. |
1. A dry, secure house and a planned run
UConn Extension describes dry housing, ventilation without drafts, bedding and predator protection as core requirements. It recommends hardware cloth at openings rather than relying on chicken wire. Use that as a starting checklist for the enclosure itself, including the parts hidden behind a convenient slide-out tray or decorative trim.
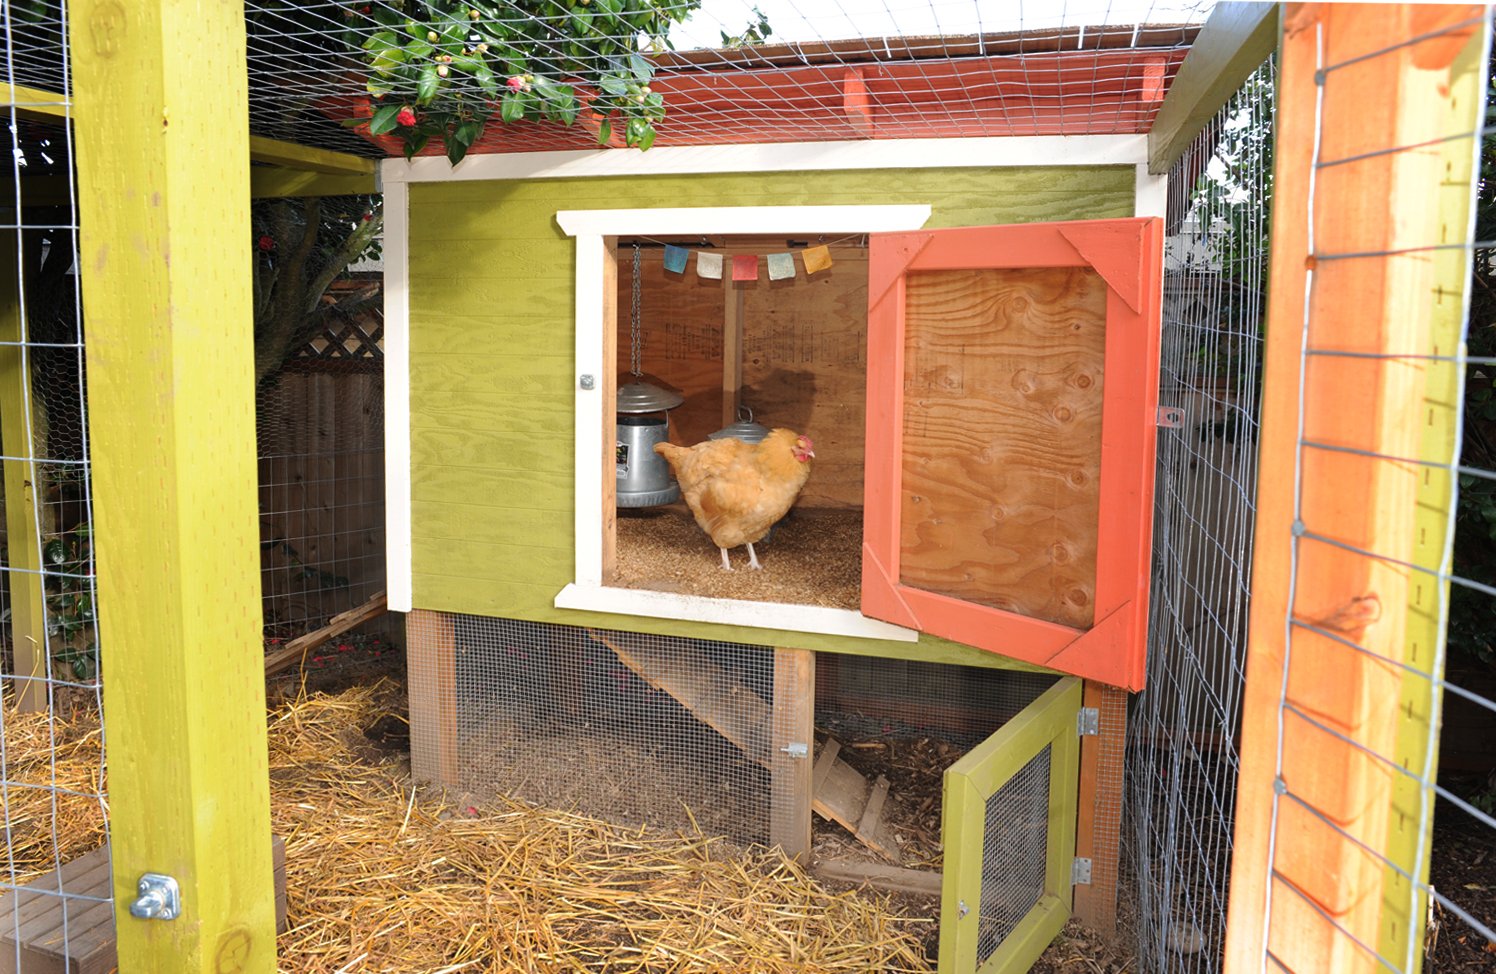
Walk around the unit before filling it with equipment. Open and close each hatch. Look at where the roof meets the walls, how the run joins the house and how you would reach a corner from outside. A difficult-to-reach corner is a practical issue to resolve while the enclosure is empty.
Measure the house and run separately. In our coop comparison, a seller’s bird count remains unverified when usable dimensions are missing. Apply the same standard to a coop you build: a drawing should show the floor the birds can use, not just the outside rectangle.

2. Ventilation that works with the doors shut
Ventilation should not depend on leaving a predator-accessible door open. Identify the intended air openings, then ask how their placement works with the roosts. UConn’s guidance is to keep the house ventilated and free from drafts; that is a layout requirement, not a claim that one vent size suits every coop.
On a floor plan, mark windows, vents and any opening that will be closed at night. That gives you a more useful question for the manufacturer or extension office than asking whether the coop is simply “winter-ready.” Keep the ventilation plan with the dimensions when comparing models.
3. Roosts for resting and nest boxes for laying
Roosts and nests serve different purposes. Poultry Extension’s perch guidance describes roost use by laying hens and stresses perch placement, smooth edges and room to land. Do not choose a perch arrangement only by adding up bar lengths; access and spacing matter too.
University of Delaware Extension recommends one nesting box for three to four hens, with soft bedding. Under that guideline, two boxes are a starting count for six hens. The right fit still depends on the birds; box count does not establish how many hens the house can hold.
Check that you can collect eggs and replace nest bedding without dismantling another part of the setup. Try the latch with the access door fully open, and check where you will stand when using it. These are simple purchase checks that photographs rarely answer.
4. Feed and water that you can keep clean
Include a feeder and a water source in the plan, rather than finding space for them after the coop arrives. UConn’s daily-care guidance includes refreshing water and removing wet or soiled bedding. Choose positions where you can see a spill, remove the container and clean the surrounding area.
Write down where you will fill the waterer and carry feed from storage. A large container is useful only if you can lift, refill and clean it through the available door. Check the container’s dimensions against the opening before ordering; the house’s overall width does not tell you what will pass through its hatch.
5. Bedding and a workable cleaning route
Delaware lists pine shavings and straw among bedding choices and recommends removing soiled bedding as part of regular cleaning. Before deciding on a material, work out how you will remove it. A pull-out tray may help, but check the space it needs outside the coop when fully extended.
Do a dry run with an empty bucket and the tools you intend to use. Can you reach under the roosts? Can the nest lining come out? Does a feeder block the clean-out door? Leave enough working space outside the enclosure for those jobs; it will not appear in a seller’s “floor area” specification.
What can wait until the basic setup works?
An automatic door, camera or decorative accessory can be evaluated after the enclosure is ready. Decide what task an upgrade would solve, where it will fit and how you would manage that task if it stopped working. Do not let an accessory purchase replace a missing measurement or an unresolved latch.
A practical ordering sequence is the house and run, their security and ventilation arrangements, then roosts, nests, bedding, feed and water equipment. Compare complete setups rather than the house price alone. Our coop-by-coop breakdown identifies which options include a run and which need one separately.
A final walk-through before the flock moves in
- Close the coop as you intend to leave it at night and inspect the access points.
- Confirm the recorded usable house and run measurements against the actual installation.
- Place the feeder and waterer, then check your access to the doors, trays and nests.
- Remove and replace a sample of bedding to check the cleaning route.
- Keep the setup instructions and unresolved questions together; resolve those questions with the seller or local extension office before stocking the enclosure.
Questions before you buy
Does every hen need her own nest box?
No. Delaware’s guide uses one box for three to four hens. That is a shared laying-space guideline, not a bird-capacity rating for the coop.
Can I choose a coop by the number of included accessories?
Accessories tell you what is supplied, not whether the enclosure suits the flock. Check the usable areas, ventilation, access and security first, then see which equipment is still needed.
Is this checklist suitable for newly hatched chicks?
No. This guide is for adult laying hens. Chicks require a brooding setup appropriate to their age; do not assume a completed adult coop meets those needs.
What should I ask before ordering a prefab coop?
Request usable house and run measurements, the current roost and nest layout, access-opening sizes and the full list of included parts. Resolve any missing information before treating the advertised bird count as a purchase decision.
Use that list when reading our chicken coop buying guide. The strongest shortlist is one where you can explain how each essential fits into the finished setup.