Place chicken-coop vent openings as part of a complete route for air to enter and leave the occupied space. Evaluate the actual building, weather exposure, roosts, secure boundary and care access before choosing a wall or under-eave location. A louver that fits a convenient rectangle does not establish a working ventilation arrangement.
We may earn a commission when you buy through links on this page.
Start with the space the birds actually occupy
Draw the inside of the coop, including any ceiling, partition or enclosed roof space. Mark the compartment containing the birds separately from an attic or storage void. An opening into a separate compartment may not provide a route through the occupied part of the building.
The Cooperative Extension guide to small-flock ventilation defines ventilation as exchange between inside and outside air and identifies house placement and design as relevant. Use that distinction to assess the building rather than count only the vent covers visible outdoors.
Mark the intended entry and exit routes on the same drawing. Include any surface or compartment that interrupts the route. If a proposed opening serves only an isolated attic, have the actual ventilation requirement resolved instead of assuming that more roof-space openings automatically serve the flock.
Three checks before choosing an opening
Record weather exposure before choosing a side
Identify where rain, wind and drifting material can reach the candidate location. A roof overhang, nearby building or vegetation can change exposure. Describe the real site rather than selecting a north, south, east or west wall from a generic internet diagram.
Cooperative Extension discusses location in relation to climate and prevailing winds, not one compass answer for all poultry houses. That is a reason to collect site information. It is not permission to transfer the orientation of a commercial barn or someone else’s coop to yours.
Where weather protection or a surrounding detail is uncertain, have the assembly assessed by an appropriate builder. This guide does not prescribe flashing, sealants, structural changes or a method for working at height. Those decisions belong to the actual building and components.
Include roosts in the location sketch
Mark where birds perch as well as where people walk. Penn State's small-scale poultry housing guidance cautions about openings directly over the perching area and unwanted drafts. The relevant question is how the proposed arrangement relates to that occupied zone, not whether a vent is simply high on a wall.
Do not turn that guidance into a universal clearance or assume that closing every opening near a roost completes the ventilation plan. If the present layout creates a conflict, resolve the layout and air route together with suitable advice. A blocked route and an uncomfortable exposure are different problems.
Record any planned movement of a roost, partition or weather cover. A location assessed against today’s arrangement may function differently after those changes. Keep the ventilation sketch with the current housing plan so the backup caregiver is looking at the same layout.
Match the component to its intended mounting role
A wall louver, a cornice intake and a powered-fan shutter are different products. Do not choose a component only because its outside dimensions cover an existing hole. Its intended function and applicable instructions must suit the proposed assembly.
Our wall and soffit vent comparison separates those roles and distinguishes listed openings, outer frames and net free area. Use the exact model’s information when a component purchase becomes appropriate. A retail product-dimensions field may describe something other than the installation opening.
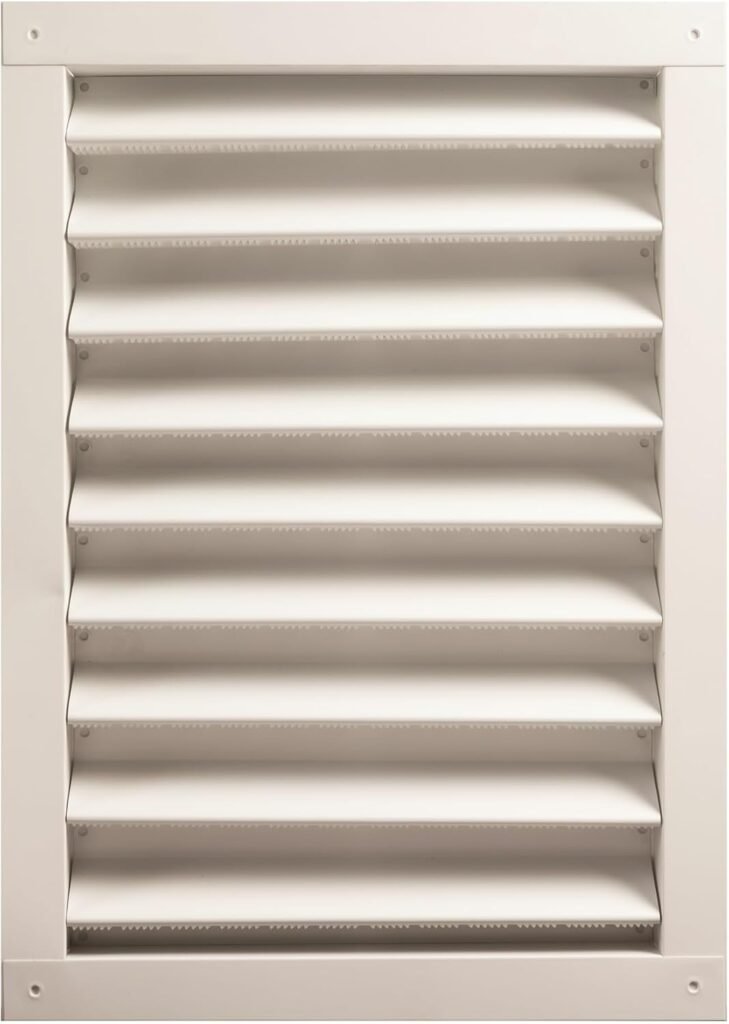
The featured photograph shows a selected white Master Flow wall louver. It is an identification image, not a drawing of the correct location for your coop. Neither the visible slats nor a tidy frame demonstrate the final airflow or the security of the surrounding construction.
Plan the animal boundary separately
A vent’s insect screen is not evidence that the complete opening excludes predators. The screen, surrounding frame, joins, attachment and access routes all matter to the secure enclosure. Do not assume that an insect-mesh description supplies a tested poultry barrier.
Our coop-wire comparison distinguishes documented material and opening formats. Use it only after the actual secure boundary and installation requirements are resolved. A wire specification alone still does not certify a finished opening.
Any added mesh or covering may also affect the completed assembly’s available air path. This article does not calculate the combined net free area or approve a modification to the vent manufacturer’s design. Keep security and ventilation requirements visible on the same project record.
A worked sketch check
Consider a hypothetical coop with a closed ceiling above the roosts. The owner proposes two gable louvers in the space above that ceiling. From outside, the building would appear to have two new vents, but the drawing shows no identified route through the birds’ compartment.
The next step is to have that missing route assessed, not to declare the two components sufficient from their combined catalog NFA. The same drawing can identify weather exposure and the roost position before any structural alteration is considered.
Now suppose a second candidate location opens into the occupied space but interrupts a service hatch. It introduces an access problem even though it connects to the right compartment. Comparing those two proposals makes the decision more useful than choosing whichever wall looks easiest to cut.
These are editorial examples, not inspections we performed or engineered layouts readers should reproduce. They show the information to take to an appropriate builder or ventilation adviser when the current arrangement is unresolved.
Keep circulation equipment in its own role
A circulating fan may move air within the building without establishing adequate exchange with outside air. Do not use blade movement as proof that the vent locations are correct. Conversely, a fan positioned near an opening does not automatically have the installed exhaust performance implied by its free-air advertising.
Our fan comparison makes function, permitted setting and installation conditions explicit. Resolve the equipment’s exact requirements alongside the building route. This placement guide does not specify an air-change target or a fan capacity for a flock.
If the project needs mechanical ventilation, obtain a design appropriate to that function rather than adapting a circulating fan by analogy. The opening size, equipment and supply path need to be considered together.
Preserve inspection and maintenance access
Include how the caregiver can inspect the vent, surrounding boundary and any applicable service parts. A location hidden behind permanent storage, overgrown vegetation or an inaccessible panel may be difficult to maintain even if it looks reasonable on the first drawing.
Keep the actual model identification and installation information available. Record covers or other seasonal changes and check that the intended route remains understandable to the person providing care. A weather adjustment should not silently turn a planned opening into a sealed wall.
This worksheet supplies a location record, not a certification of air quality or flock health. Unresolved housing performance needs appropriate advice, and concerns about sick birds belong with a veterinarian. Do not diagnose those concerns by counting vent covers or judging a photograph.
Common questions
Should I always put one vent in each gable?
No single arrangement suits every building. First identify the occupied compartment, connected air route, weather exposure and applicable component instructions. Two gable openings into an isolated attic do not by themselves establish ventilation through the birds' space.
Is a high opening automatically better than a low one?
Height is only part of the actual arrangement. Include the intended entry and exit route, roosts, weather exposure and mounting role. This worksheet provides no universal height, clearance or vent-area requirement.
Can the insect screen serve as the predator barrier?
Do not infer that from the label. The complete secure boundary, material, attachment and surrounding joins require their own appropriate design. Any additional layer must also be considered in the finished air path rather than assumed to have no effect.
Featured product image from the exact Master Flow via Amazon listing. The vent photograph identifies one selected format, not an approved opening location or a certified animal barrier. Original location worksheet by Backyard Henhouse.