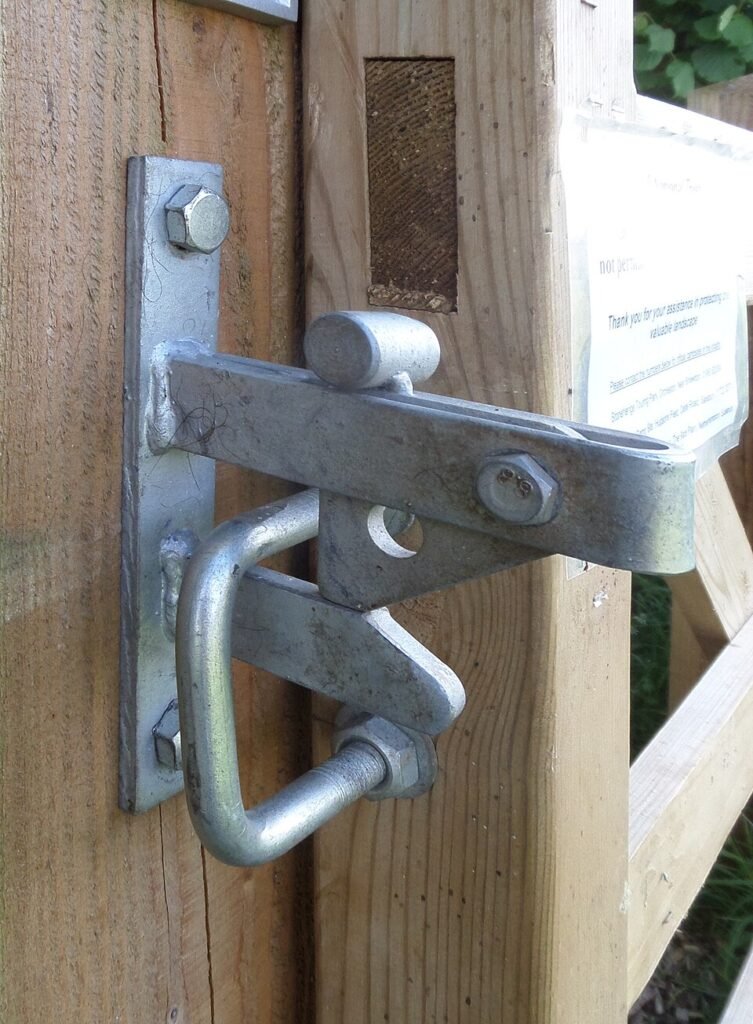
Check a chicken-coop door in its normal closed position, then confirm the latch is fully engaged and the specified lock operation is complete. Inspect the frame, hinges, fixing points and openings around the panel as well as the mechanism. A click, a turned key or a substantial-looking bolt does not establish that the whole enclosure is closed correctly.
We may earn a commission when you buy through links on this page.
Use the manufacturer’s ordinary operating checks, with the birds kept clear of the work. This is a maintenance inspection, not a destructive force test or proof against a particular animal. If a door or support is damaged, arrange an appropriate repair before relying on that entrance again.
Identify every opening in the care routine
List the people gate, service door, cleaning panel, egg-collection hatch and any bird door separately. Each has its own closing operation. A keyed run gate cannot secure a service panel left open after a bedding change.
Write down which panel moves, where the latch body is attached and where its strike or keeper is fixed. Check the hinge side too. A secure-looking catch does not repair a loose frame, a split fixing surface or a gap at another corner.
Our coop-latch comparison distinguishes mechanisms and operating sides. Use it when identifying the model or considering replacement hardware. The job here is inspecting the installed arrangement and the steps the caregiver actually completes.
Inspect three separate operations
Close the door as you would during ordinary care
Clear the operating path according to the equipment instructions, then move the panel into its intended closed position. Keep hands and birds out of moving or trapping points. Watch whether bedding, debris or another component prevents the normal movement.
Do not hold the panel up, lean it inward or lift a sagging gate to make it appear aligned, then call the inspection complete. Record that altered movement as a problem to resolve. A door that works only while someone supports it may not reach its correct position during a normal closing visit.
Inspect with the floor and operating parts in the state in which they will be used. A dry, empty demonstration before bedding was added does not show the current threshold or track condition. Recheck affected parts after cleaning, repairs and changes to the layout.
Confirm engagement, then perform the lock operation
For a sliding bolt, confirm that it reaches and enters the intended receiver rather than stopping against its face. For a catch and strike, follow the maker’s instructions to check the intended engagement. Do not use a guessed amount of overlap or a generic hand-force test as a substitute for those instructions.
Then complete the specified locking arrangement. Catching and locking can be separate actions. National Hardware's automatic-latch page identifies a particular out-swing catch format; the product name does not mean that swinging any gate shut completes every lock step.
If a separate padlock is part of the specified arrangement, check the compatible hardware and its actual closed condition. If the installation uses a key cylinder, identify which part it controls. A key turned in an external-access component does not necessarily lock another component of the same system.
Check both operating sides when they are part of the setup
Establish where each caregiver must stand to enter, clean and leave. Follow the exact model’s operation from the required side or sides and plan against lockout. Do not make a new reach-through opening in the barrier to compensate for ordering the wrong access format.
D&D's Regular S3 documentation distinguishes latch-only and external-access arrangements and states that locking the optional External Access Button does not simultaneously lock the main latch. That is a useful example of why the actual model and each operating step matter.
It is not a universal statement about every keyed latch. A different product may have a different linkage, cylinder or inside control. Keep its instructions available and make sure the backup caregiver understands the installed system rather than assuming that similar-looking parts operate alike.
Look at the fixing surfaces and hinge side
Inspect the visible attachment points for looseness, displaced hardware, damaged material or a changing relationship between parts. Check that the keeper and latch remain supported by the intended surfaces. A good mechanism attached to deteriorated wood is not made adequate by adding another turn to the key.
Follow the specified repair and adjustment procedure. Do not invent a screw size, substitute fixings for an unknown substrate or tighten damaged material until it appears to stop moving. Seek appropriate help when the structure or fixing method is unclear.
Look at the hinges, post and frame before using latch adjustment to mask misalignment. If the gate has shifted, determine the cause. A slotted fixing hole can provide an adjustment range without establishing that the whole structure can tolerate unlimited sag or twist.
Trace the openings around the closed panel
Look along the top, sides and threshold, then follow nearby joins and service openings. Check whether a displaced panel, damaged corner or utility passage leaves an entry route around the latch. Treat each actual opening as its own barrier question.
Oklahoma State Extension's poultry-predator guide explains that appropriate barriers depend on the threats involved. A latch’s ideal fitting gap is not a general acceptable opening size for every predator. Do not use a gate-hardware dimension as an enclosure-wide exclusion standard.
Our coop-wire comparison distinguishes barrier formats and their limitations. Check attachment and continuity as well as the material itself. A small opening created at a loose edge remains a problem even if the nearby roll of wire has an appropriate nominal mesh.
Include an automatic bird door in the inspection
If the coop has an automatic panel, inspect its actual closed condition according to the manufacturer. Keep the closing path clear and follow the relevant obstruction, control and manual-operation instructions. Do not improvise a moving-door test with a hand or a bird.
The automatic-door comparison separates selected mechanisms and operating requirements. Automation handles a particular opening; it does not inspect a people gate, close an egg hatch or certify the wall beside it.
Confirm the care plan for a fault, loss of power or interrupted operation using the installed product’s instructions. A timer setting or app display does not replace the ordinary inspection of the actual opening. Arrange a secure appropriate fallback before depending on the system.
Work through one complete example
Suppose a hypothetical service door closes with a click after cleaning, but the bottom corner remains out of line because bedding is trapped at the threshold. The useful observation is the incomplete closed position. Do not simply add a stronger lock to make the click sound more convincing.
Clear the obstruction as instructed, inspect for damage, and repeat the normal close-and-engage sequence. Then perform the specified lock operation and inspect the perimeter again. If the panel still needs lifting or force to meet the keeper, resolve the alignment or support problem rather than marking it ready.
That example illustrates a process, not a certified test or an account of using a particular product. The same inspection logic identifies a different problem if the gate closes normally but an external-access control is locked while the main latch remains unlocked. Identify the step that actually failed.
Leave a care note that another person can follow
Keep the note short: openings to close, ordinary engagement check, separate locking steps, key location for authorized caregivers, and what to do if a panel will not operate normally. Use the installed model names where they prevent confusion.
Have the backup caregiver follow the sequence while you can resolve questions. Recheck after changes to the equipment or routine. A useful inspection ends with a correctly operating enclosure or a specific repair and fallback plan; it does not end with an unsupported claim that a latch is predator-proof.
Common questions
Does a click prove the coop door is locked?
No. It may indicate a catch engaging, while locking is a separate operation. Check the intended closed position, complete the exact model's lock steps and inspect the openings around the panel. An audible cue does not establish all three.
Should I pull or pry hard on the latch to test it?
Use the manufacturer's ordinary operating and inspection procedure. Do not turn a routine check into an improvised destructive force test. A quick hand check is not an animal challenge, load rating or certification of the frame and fixings.
What if I have to lift the gate to latch it?
Record the misalignment and inspect its cause, including the hinges, post, frame and operating path. Follow the relevant adjustment or repair instructions. Do not rely on a latch adjustment alone to repair damaged or unsound support.
Cover photograph by Gaius Cornelius, CC BY-SA 3.0, via Wikimedia Commons. Contextual photograph; it does not identify a recommended product or certify the installation shown. Original planning diagram by Backyard Henhouse.
