Clean a chicken waterer by providing another source of suitable water, disconnecting any electrical components as instructed, emptying the unit, and cleaning its permitted removable parts outside. Use cleaning or disinfecting products only when the waterer’s manufacturer and the product label allow them. Reassemble, refill, and check water delivery at every outlet before returning it to the flock.
We may earn a commission when you buy through links on this page.
A clean-looking tank is only part of the job. Cups, trough edges, seals, and valves have different surfaces and access points. A reservoir can look spotless while a blocked outlet prevents a bird from drinking. Plan the cleanout around the whole delivery system.
Identify what can be washed
Find the instructions for the exact waterer. List the reservoir, lid, base, cups or nipples, seals, hose connections, and any heater or controller. Mark which parts are removable and washable, which need wiping, and which must remain dry. Do not infer dishwasher compatibility from the fact that a part is plastic.
The Omlet insulated-waterer USA manual, for example, applies to its specified 3-gallon/12-liter model. It permits particular cleaning methods and pet-safe cleaners but prohibits dishwasher cleaning, hot or boiling water, and chemicals. Those limits are a reason to read the matched manual, not a chemical recipe for every poultry waterer.
For a heated unit, identify both the container and the heating arrangement before working. Our heated-waterer versus heated-base comparison explains why the cleaning and compatibility instructions can involve more than one component. Keep electrical parts dry and follow the unit’s disconnecting and cooling instructions.
Clean the system, then confirm the drink
Set up the job away from the kitchen
The CDC's backyard-poultry guidance calls for cleaning poultry supplies outdoors and washing hands after handling birds or their equipment. Do not use a food-preparation sink for this job. Keep the waterer-cleaning brush and container dedicated to poultry equipment.
Put the replacement water source in place before removing the dirty one, and confirm the birds can use it. This matters when the cleaning takes longer than expected because a seal or valve needs attention. The backup must actually deliver accessible water; a full container with an unfamiliar or inaccessible outlet is not enough.
Choose a work area where dirty water and cleaning materials will not run into the flock’s drinking supply. Keep clean parts away from the dirty brush and removed debris. This separation is a practical workflow, not a promise to make a backyard work area sterile.
Empty and remove visible debris first
Empty the waterer and remove loose bedding, feed, droppings, and other visible material. Take apart only the components the instructions identify as user-removable. Keep small seals and fittings together in a clean container so they do not disappear into the grass.
Use the permitted brush, cloth, and washing method to reach the surfaces birds contact and the places where water passes. Pay attention to the lip of a gravity base, corners of a cup, and accessible connections. Do not force a brush or wire into a nipple mechanism that the maker says to clean differently.
For an insulated or double-wall reservoir, follow its handling instructions too. Do not turn it upside down for storage or cleaning merely because that works with a plain bucket. Features hidden inside a wall can impose different restrictions from the visible drinking surface.
Separate cleaning from disinfection
Removing visible material and using a disinfectant are different operations. If disinfection is needed, first confirm that the exact product is appropriate for the waterer and intended use. Follow its label for dilution, contact time, rinsing, and any restrictions around animals and drinking equipment.
There is no universal bleach, vinegar, or other mixture in this guide. An online recipe does not establish material compatibility or override a waterer’s instructions. Never mix cleaning chemicals. If a suspected flock disease is the reason for a special cleanout, ask a veterinarian for the relevant flock-management advice instead of treating routine washing as a disease-control protocol.
Rinse and finish the parts as their instructions require. Check seals and other removable pieces as you reassemble. A missing or displaced seal can turn the first refill into a leak even when the reservoir itself has been cleaned well.
Test delivery before birds rely on it
Refill with suitable fresh water and set the unit on its approved level support or hanging arrangement. Inspect for leaks at the lid, seams, valves, and base. Use the manufacturer’s outlet-check method to confirm water reaches every drinking point, not just the easiest one to see.
For example, a four-outlet drinker should get four outlet checks. Three working cups do not prove the fourth is functioning. If one fails, resolve it or provide an appropriate alternative rather than counting the full tank as available water.
Watch birds approach and drink after returning the waterer. Check that smaller birds can reach and that the equipment remains stable. Our waterer capacity guide separates stored gallons, outlet delivery, and flock access; all three still matter after cleaning.
Let condition determine the work, with regular checks
Inspect water and drinking surfaces during routine flock care. The University of Minnesota's egg-flock guidance calls for fresh water daily. A larger reservoir is not permission to skip observation, and a closed-tank design does not eliminate checking the outlets.
If bedding keeps entering a cup, adjust the permitted setup and review its location. If green buildup or debris repeatedly returns, review exposure and the cleaning instructions rather than adding an unapproved chemical. Keep a simple record of what you cleaned, any worn parts, and whether the refill leaked.
When choosing a replacement, compare access to the surfaces you will actually maintain. The chicken-waterer guide considers refill and outlet arrangements as well as storage. A unit that suits your cleaning space and flock is more useful than one with a large tank you cannot service properly.
Common questions
Can I put a chicken waterer in the dishwasher?
Only if the exact manufacturer's instructions allow it. The specified Omlet 3-gallon/12-liter insulated-waterer manual prohibits dishwasher cleaning, so plastic construction alone is not enough to decide.
What bleach ratio should I use for every waterer?
There is no universal ratio in this guide. Use a disinfectant only when its label and the waterer's instructions permit the intended use, and follow all dilution, contact-time, and rinsing directions.
Is a clean, full tank enough to confirm the job is done?
No. Check assembly, leaks, every drinking outlet, and access for the birds. Water stored in a reservoir is not useful if it cannot reach a working, accessible drinking point.
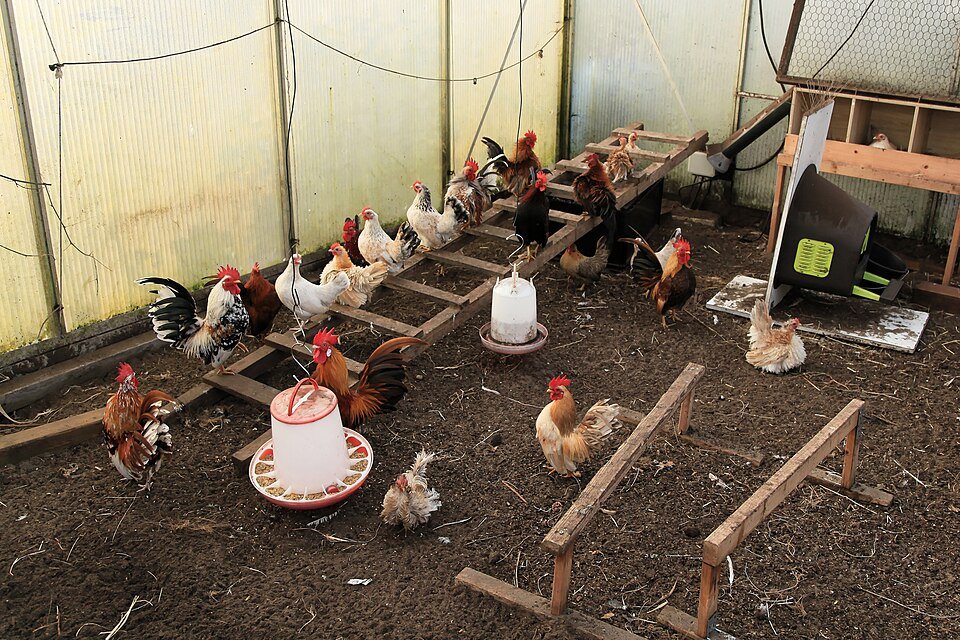
Cover photograph by Frank Vincentz, CC BY-SA 3.0, via Wikimedia Commons. Contextual photograph; it does not identify a recommended product or endorse the installation shown. Original planning diagram by Backyard Henhouse.
